Bleed, safe margins and dielines: what to check in artwork
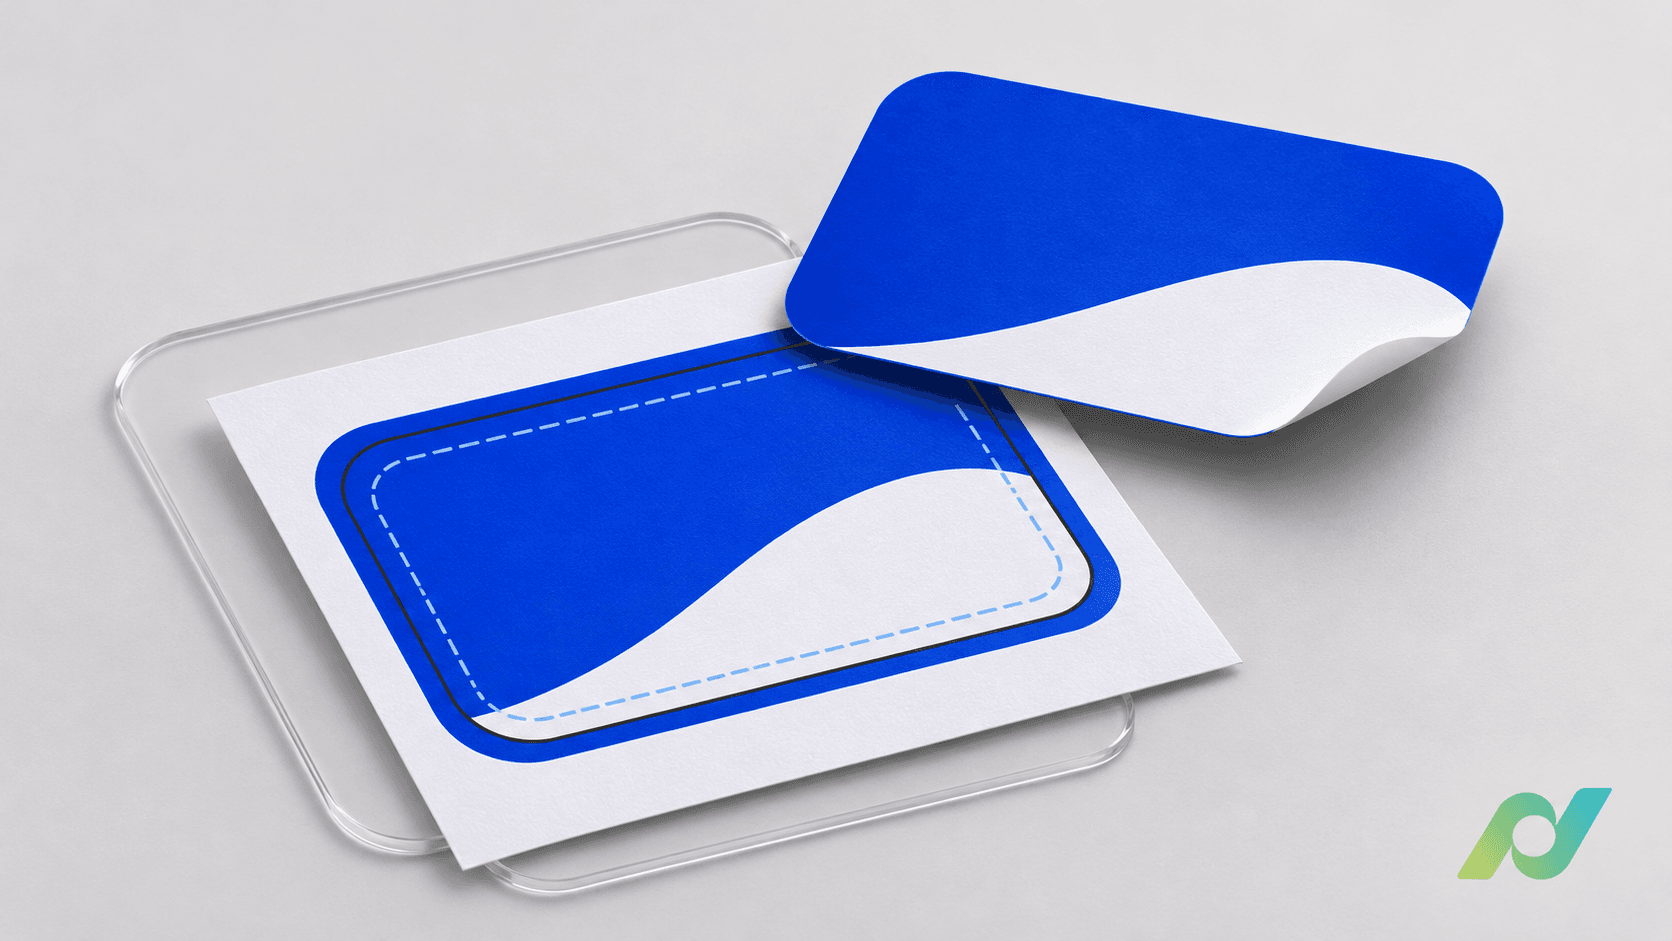
A background can look finished on screen while ending exactly at the cutting contour. Text may be readable in an open file but positioned too close to a fold. To discuss these situations, design and prepress need to distinguish three references: the packaging structure, the area extending beyond the cut and the internal space reserved for important content.
Bleed, safe margins and dielines serve different purposes. Checking them separately helps teams ask the supplier specific questions and record what was approved. The following workflow proposes a file review; dimensions and tolerances must be defined for the actual job.
1. Confirm which structure applies
A packaging dieline brings together references for the structure to be produced. Cut and crease should be identified as distinct operations; the ArtiosCAD line-type documentation shows these technical categories.
Before reviewing the artwork, confirm the structure version, dimensions, units and viewing side with the supplier. Compare the supplied reference with the one used in the layout. If an update exists, investigate what changed before reapplying the artwork. Do not modify the structural drawing solely to accommodate a graphic element without consulting the person responsible for the package.
2. Check that the artwork actually extends into the bleed
Bleed extends objects beyond the cutting boundary to accommodate small process variations. Adobe's guidance on bleed describes this purpose and recommends confirming requirements with the print provider.
During review, follow the areas where the background should reach the edge: sides, curves, corners and cutouts. Check that the image or color continues beyond the contour to the agreed extent. A filled-in bleed setting does not, by itself, demonstrate that the content has been extended. If an image is insufficient, request a layout solution; avoid enlarging the entire artwork and shifting other elements without assessing the result.
3. Reserve the internal safe area
A safe margin is an internal inset used to keep important content away from sensitive boundaries. It serves a different purpose from bleed: one protects content placement, while the other extends the background beyond the cut.
Request the applicable distance and use it to check text, symbols and other elements that must remain intact. Consider each item's own requirements too, such as the space reserved for a barcode. If an element does not fit, return the issue to layout. Reorganizing the panel may be the answer rather than shrinking everything until it appears to fit. Record which solution was accepted and by whom.
4. Examine folds, flaps and assembly areas
The outer contour does not complete a packaging review. Identify areas involving folds, overlaps, windows, flaps and closure. Ask the supplier to indicate where content, printing or finishing restrictions apply to that structure.
A practical approach is to inspect each panel and ask what will be visible after assembly. Does information cross a fold? Will an important detail be covered? Does the intended alignment depend on the position of two faces? If the flat view leaves a question unanswered, request a suitable simulation or sample for discussion. Keep the decision connected to the correct structure without assuming that screen appearance determines physical tolerances.
5. Identify how technical lines will be handled
Cut, crease and other operation lines need a defined role in the workflow. Some systems recognize them through mapping: the Phoenix ink-type documentation presents categories such as cut, crease, glue and bleed.
This example does not establish a universal name or color for every supplier. Confirm the convention used for the job and how technical information will be delivered. Do not turn a line into printing ink or remove it from the file on your own initiative. Ask prepress to validate the intended handling and check that the exported PDF preserves what was agreed.
6. Reopen the PDF that will be sent
After export, review the output file. Acrobat Pro's Output Preview can display page boxes and inspect separations. These features support checking, but page boxes do not replace the structure's specific reference.
Compare the artwork position with the approved contour and reexamine both external and internal areas. Check that export has not clipped necessary content or changed the handling of technical lines. Confirm the scale used for review too. A screenshot can record an observation; to validate a distance, work with the correct file and units. If a correction is made, repeat the inspection on the new version.
7. Record the scope of approval
At sign-off, identify the reviewed artwork, dieline version, supplied specifications and resolved issues. Make clear who validated the layout and who confirmed its technical suitability for production. If there is an assembly sample or another physical assessment, associate it with the same job.
eyeView brings together viewing, separations and comments to support packaging artwork reviews. Use that shared context to identify regions and discuss changes with the team, while leaving production tolerances and decisions with the responsible technical owners.
A documented approval lets the team establish which structure was used, where the background was extended and which areas were reserved for content. That way, the discussion of bleed, safe areas and dielines rests on more than a visual impression.