Quality Control for Flexographic Files: Prevent Problems Before Printing
Quality Control for Flexographic Files: Prevent Problems Before Printing
In flexography, even small details in the file can lead to significant production losses. Problems such as excess ink, TAC outside the specified range, elements below the recommended minimums, or incorrect trapping can result in material waste, lost machine time, and rework.
Therefore, quality control of files prior to plate making and printing is a critical step in the prepress workflow.
In this article, we’ll discuss the key points to consider in flexographic files and how to avoid problems before they reach production.
What is TAC (Total Area Coverage) in Flexography?
TAC (Total Area Coverage), also known as total ink coverage, represents the sum of the percentages of all inks applied to a given area of the artwork.
Example:
- Cyan: 80%
- Magenta: 70%
- Yellow: 60%
- Black: 40%
Total TAC = 250%
Although this may seem simple, this number is extremely important in the printing process.
Why is a high TAC a problem?
When the total ink coverage exceeds the recommended limit for the substrate and the printing process, various problems may arise:
- Improper drying
- Excessive point gain
- Sketches
- Set-off (transfer of ink to other surfaces)
- Loss of definition
- Adhesion Problems
Each printer, ink, anilox roller, and substrate has different limits, but in flexography, it is common to work within the following ranges:
- 220% to 280% for various substrates
- Some specific materials require even lower limits
Monitoring TAC is essential to ensure print stability.
Minimum Print Quantities: A Small Issue Can Turn Into a Big Problem
In flexography, very small elements may simply not print correctly.
This includes:
- Short texts
- Fine lines
- Microdetails
- Negative elements
- Very lightweight reticles
These elements may disappear, become obscured, or become distorted during plate exposure and during printing.
Common examples of problems involving minima
- White text on a dark background closes
- Fine lines disappear
- Negative elements lose definition
- Low-level reticles disappear completely
Each process has its own tolerances, but minimum control typically evaluates:
- Minimum line thickness
- Minimum text size
- Minimum grid point
- Minimum negative areas
Without this validation, the digitally approved artwork may look very different from the actual result on the printer.
Excess Ink: One of Flexography's Main Villains
Excess ink is not solely related to the total TAC.
It is also important to examine specific areas of the artwork where there is an excessive concentration of paint, particularly in:
- Major Highs
- Dense gradients
- Shadows
- Areas with overlapping colors
Problems caused by excess ink include:
- Slow drying
- Picking
- Smudges on the printout
- Transfer Errors
- Point gain
- Color inconsistency throughout the print run
In practice, this can lead to material waste and make it difficult to maintain consistency between batches.
That is why it is essential to identify these areas before production begins.
Trapping in Flexography: Essential for Preventing White Streaks
Trapping is the technique used to compensate for slight variations in registration between colors during printing.
Even high-quality printers have slight mechanical variations in registration. Without proper trapping, these variations can cause visible defects.
The most common problem is the appearance of:
- White fillets
- Color leaks
- Irregular contours
- Misaligned edges
How does trapping work?
Trapping creates a slight overlap between adjacent colors.
Example:
- A blue background meets a yellow object.
- No trap: any misregistration results in white space.
- With trap: there is a slight overlap that accounts for this variation.
Problems Caused by Incorrect Trapping
Insufficient trap
- Appearance of white gaps
Excessive trapping
- Visible contours
- Visual changes to the artwork
- Color changes in critical regions
In addition, trapping must take the following into account:
- Print Order
- Ink opacity
- Substrate Characteristics
- Machine alignment tolerance
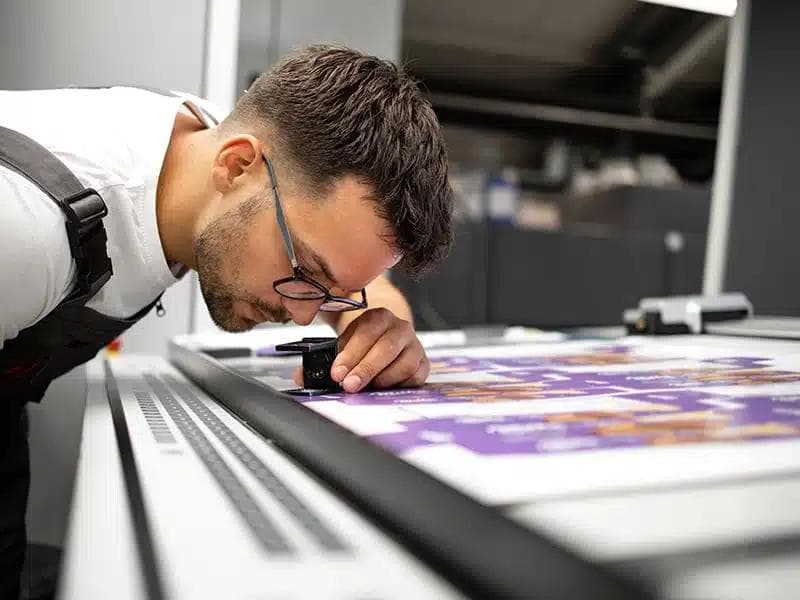
Quality Control in Flexography Must Take Place Before Printing
Detecting these problems only during printing is costly.
When an error occurs on the machine, costs rise rapidly:
- Material loss
- Machine downtime
- Rework
- Re-engraving of plates
- Delivery Delay
As a result, flexographic printing companies are increasingly investing in automated prepress validation.
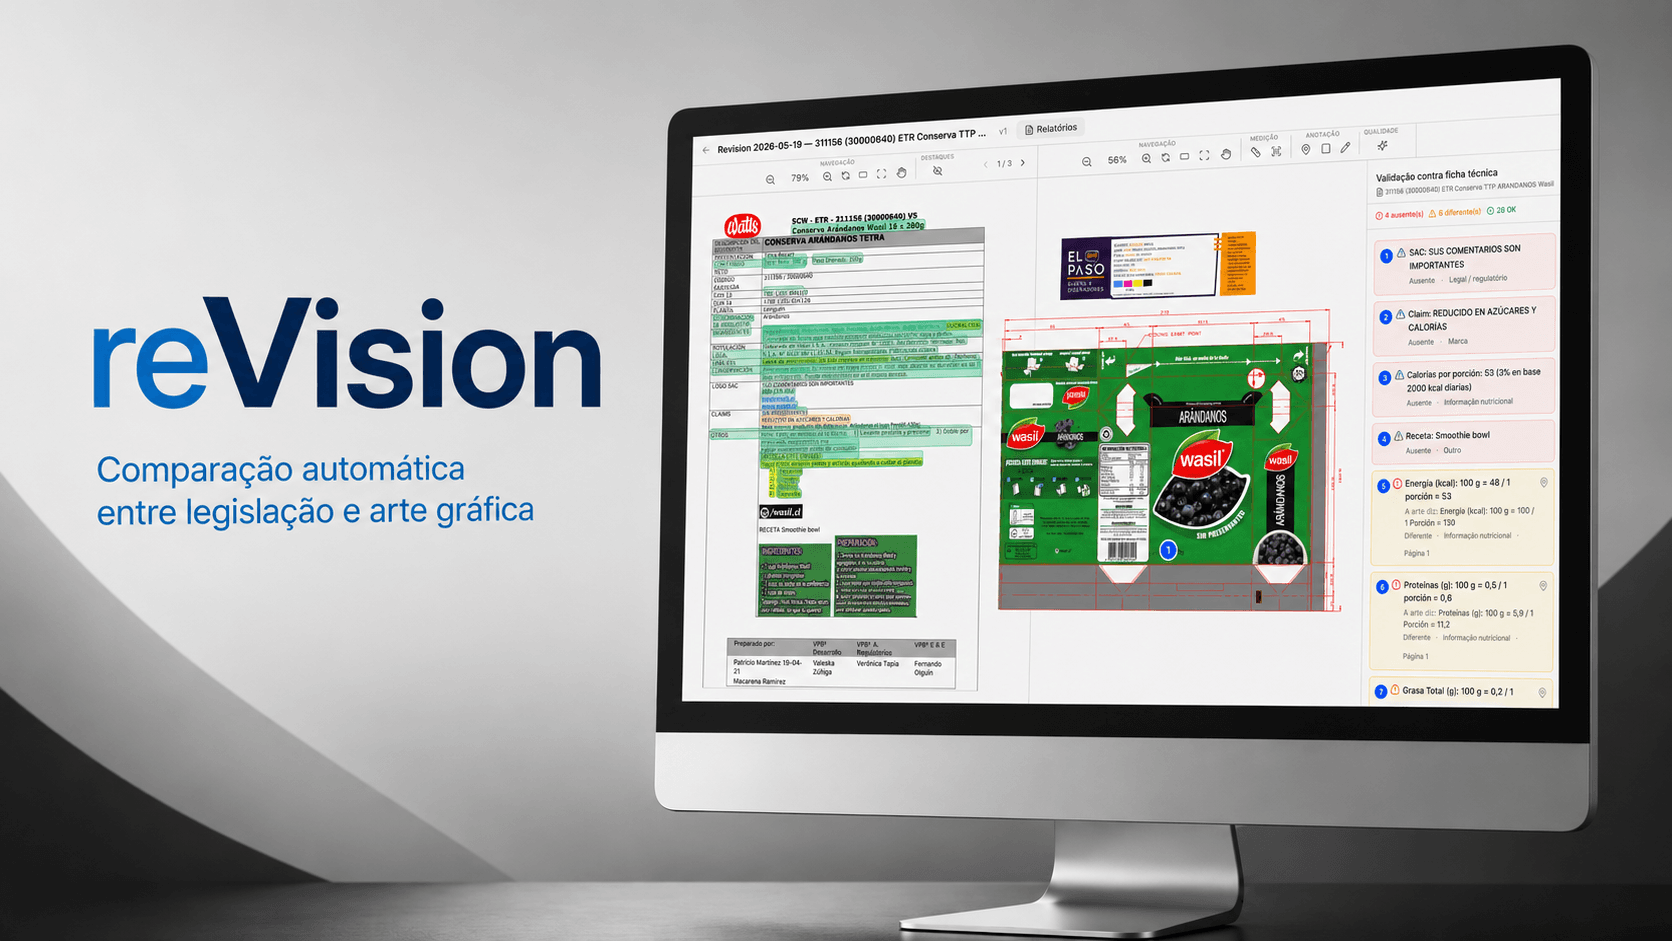
How eyeView Helps with Quality Control of Flexographic Files
O eyeView It was developed to make the approval process smarter and more secure.
While analyzing the file, it automatically identifies critical issues such as:
- TAC above the permitted level
- Elements below the minimum print size
- Excess ink in critical areas
- Trapping issues and registration risk
All of this can be verified directly during the file approval process, before it goes on to plate making or printing.
This reduces errors, prevents waste, and improves safety in the flexographic production process.
If the goal is to improve quality and reduce risks in the prepress stage, technical file review must no longer be optional but must become part of the approval workflow.